
How to use Paymaya for shopping and payments
If you actively shop online, you may have considered using e-wallets like Paymaya. If you’re new to mobile wallets, here’s a simple guide on how to use Paymaya to shop and pay bills.
Now that more and more people are opting for online services, different modes of payment have been made available to make it more convenient for customers to purchase goods digitally.
Digital wallets or e-wallets are a new type of electronic system that safely store people’s payment details. Digital wallets primarily remove the inconvenience of having to carry a physical wallet, and at the same time, enable individuals to make mobile payments.
For countries like the Philippines, the use of e-wallets significantly changed the mobile payments sector. Many people without bank accounts now use e-wallets like Paymaya to store their money, make cashless payments and purchase products online.
What is Paymaya?
Paymaya is an e-wallet that offers different financial services that can be accessed through a mobile app.
With Paymaya, you can shop online and in-store, top-up mobile phone load, send and receive money, pay bills, book flights, and many more.
Apart from the virtual card, you can also get a physical Paymaya card, which you can link to the mobile app. This will allow you to gain access to even more benefits, such as making in-store payments that accept debit and credit cards, as well as withdrawing cash locally and abroad.
How to create a Paymaya account?
Before you can use the Paymaya features, you need to sign up and create an account.
First, download the Paymaya mobile app on the App Store (for iOS) or Google Play (for Android). Then, follow this step-by-step guide:
- On the mobile app, click “Register” and fill out the registration form with the required personal information.
- Review the terms and conditions, then click “Agree”.
- You will receive a verification code by SMS. Enter the code on the mobile app, then click “Proceed”.
- If you have an invite code, enter it for additional rewards. If not, you can skip this step.
It’s as easy as that! Your account is ready in just a few taps.
How to use Paymaya to shop and pay bills?
When your account is ready, you can start using Paymaya’s wide range of services. Here is a step-by-step guide on how to use Paymaya:
Step 1: Add money to Paymaya account
Before you can use Paymaya for payments, you need to top up your Paymaya account.
Topping up a Paymaya account is easy and straightforward. Just follow these three simple steps:
- Log in to your Paymaya account.
- Select “Add Money”.
- Choose the Add Money Partner of your choice, then follow the instructions stated by the selected partner.
Cashing into Paymaya is free of charge as long as you don’t exceed a total of PHP 10,000 in a month. If you go over this amount after depositing the funds through over-the-counter channels, a convenience fee of 1% will be taken out of your total credit balance. No fee will be deducted if you top up through digital channels.
Over-the-counter cash in partners: 7-Eleven, Ministop, Robinsons Department Store, SM Store, Gaisano Capital
Online and mobile bank transfer: Instapay and PESONet bank partners
Step 2: Get a virtual Paymaya card
To be able to shop online using Paymaya, you must upgrade your account to get the virtual Paymaya card. To do so, follow these steps:
- Log in to your Paymaya account.
- On “My Cards” page, click “Online Payment Card Number”.
- Then, click “Activate Now”.
- Add at least PHP 100 to activate the card.
Step 3a: Shop online with Paymaya
Once you’ve topped up your Paymaya account and activated your virtual card, you can start shopping online. Here’s how to use Paymaya to make online purchases.
When you reach the payment page of the website you’re buying from, follow these instructions on how to use Paymaya to shop online.
- When asked for your preferred payment option, select either “Debit” or “Credit Card”.
- Enter the card details on your virtual card. Just click “View Card” on your app to find your card details.
- Confirm the transaction. Upon successful payment, you will receive a text message that will notify you about the purchase.
You can check the total credit balance left on your account on the app’s “Activity List”.
Step 3b: Pay bills online with Paymaya
You can also pay bills online with Paymaya to avoid the inconvenience of having to travel and queue to settle your bills. Here’s how to use Paymaya to pay bills online:
- On your Paymaya app’s homepage, select “Pay Bills”.
- Select the biller you want to pay.
- Fill out the required fields, then enter the billing amount.
- Confirm the payment. Then, you will receive an SMS message of the payment confirmation.
Step 3c: Pay using Paymaya's QR code reader
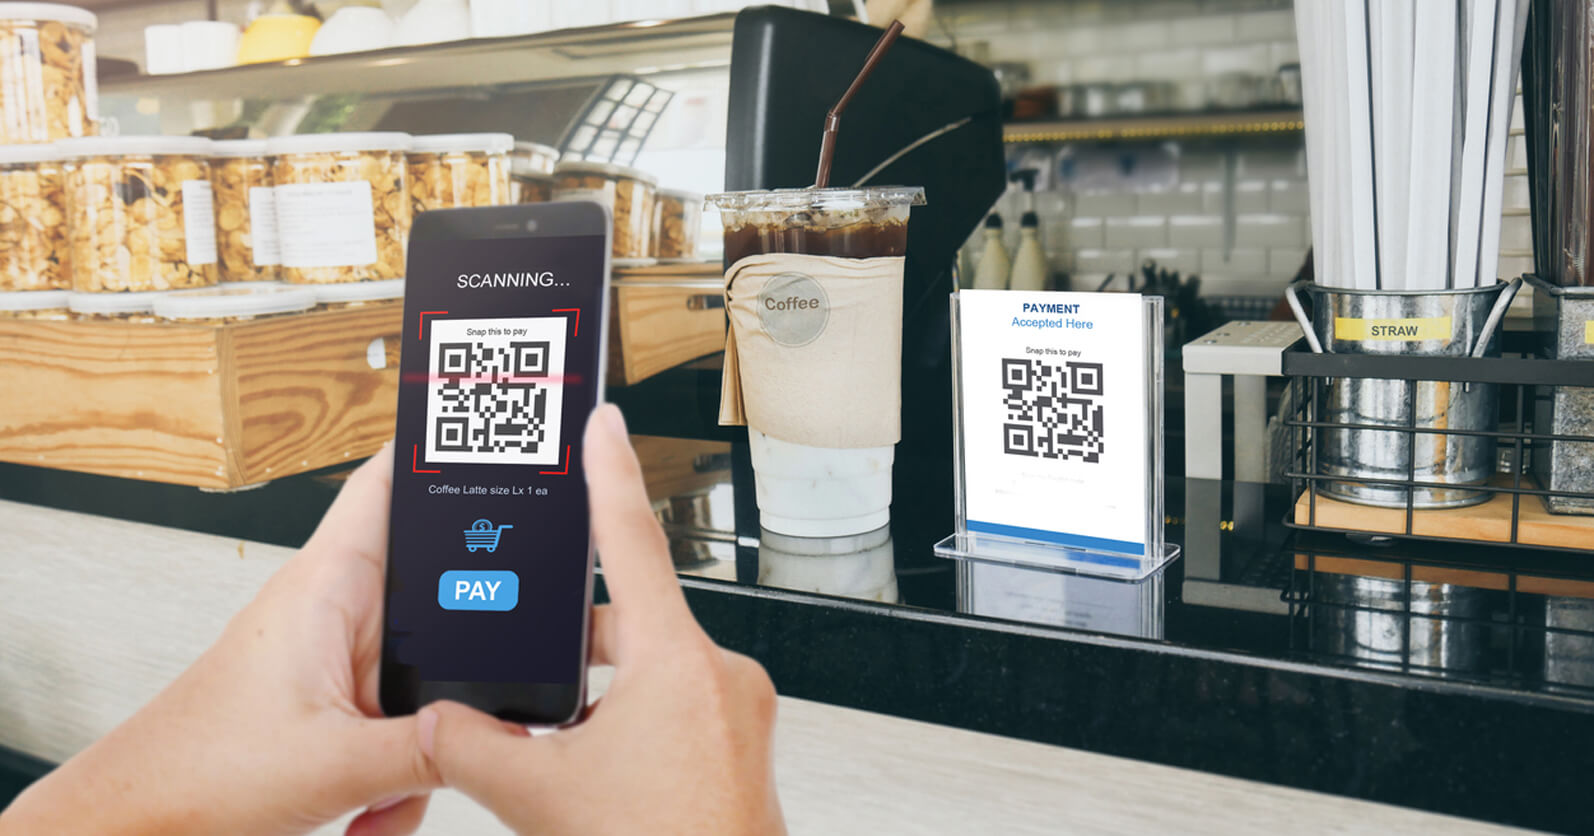
Some merchants will also allow you to pay using a QR code. Here’s how to use Paymaya to pay with a QR code:
- On your Paymaya app, tap the “Scan” option on the homepage.
- Place your phone’s camera in front of the merchant’s QR code, and then it will lead you to the payment page.
- Enter the amount then click “Continue”.
- Verify the details of the purchase then click “Pay”.
How to send money from GCash to Paymaya
If you also actively use GCash apart from Paymaya, you may want to transfer funds between the two e-wallets from time to time. The great news is that you can directly transfer money from one wallet to another.
Here’s a guide on how to send money from GCash to Paymaya:
- Log in to the GCash mobile app, then choose “Bank Transfer”.
- Under “View All”, look for “Paymaya Philippines Inc.” Alternatively, you can enter “Paymaya” on the search feature.
- Enter the amount you’re sending and complete the other fields.
- On the “Account Number” section, input the mobile number or account number associated with the Paymaya account.
- Enter the email address the digital receipt will be sent to on the “Send Receipt to” section.
- Check the details of the transfer and click “Confirm”.
Once confirmed, both the GCash sender and Paymaya receiver will receive an SMS message regarding the transfer.
How to send money to a Paymaya account from the UK & Europe

You can also top up a Paymaya account even if you’re in the UK, Ireland, Gibraltar, Germany and the Netherlands using Kabayan Remit. Here’s how:
Step 1: Create a Kabayan Remit account
Step 2: Add a new beneficiary
- When your account is ready, log in to your profile.
- On the app’s dashboard, select “Add Beneficiary”.
- Enter the details associated with the Paymaya account.
- On the “Select Bank” drop-down, choose “Smart Paymaya”.
- On the “Account Number” section, input the mobile number registered to the Paymaya account. Please note that the mobile number must start with 09 (do not write +639, 639 or 00639).
Step 3: How to top up a Paymaya account?
- On your Kabayan Remit mobile app dashboard, go to the “Send” page.
- Select your newly added Paymaya beneficiary and under delivery method, select “Credit to Account”. The beneficiary fields will be automatically entered. Then, click “Next”.
- Enter the amount you would like to top up on the account.
- Select whether you prefer to pay by online bank transfer or by debit card.
- Choose your “Purpose of Remittance” then click “Next”.
- Confirm the transfer details then pay.
You can send up to PHP 50,000 for every transaction.
For more information on Kabayan Remit, visit kabayanremit.com.
Which is better Paymaya or GCash?
Paymaya and GCash are the two largest e-wallet providers in the Philippines. Though they offer similar services, one has advantages over the other in certain aspects and features.
Here’s a breakdown to help determine which is better – Paymaya or GCash:
1. Number of users
GCash has 26 million registered users to date. Although Paymaya doesn’t disclose any exact figure, their user base was less than 20 million as of December 2019.
Winner: GCash
2. Registration and account verification
As a financial service, both companies are required to conduct Know Your Customer (KYC) checks before verifying their customers’ profile.
The customers have found that Paymaya’s process is quite time-consuming and you need to request an account upgrade before you can use other features.
On the other hand, GCash’s customer verification process is much smoother, as it can be completed through a simple selfie verification process.
Winner: GCash
3. Mobile app features / convenience
| Mobile App Features | Paymaya | GCash |
| Send / receive money | ||
| Request money | ||
| Physical prepaid card | ||
| Virtual prepaid card | ||
| Pay bills | ||
| Buy prepaid load | ||
| Borrow load | ||
| Scan and pay via QR code | ||
| Shop online | ||
| Link to PayPal | ||
| Book flights | ||
| Buy movie tickets | ||
| Buy games | ||
| Send gifts / treats | ||
| Manage credit | ||
| Save money | ||
| Invest money |
Out of the listed 17 features, GCash offers 16, whilst Paymaya only provides 12.
Winner: GCash
4. Customer support
Customers have found that GCash is not very responsive to customer queries and follow-ups. Their customer service is accessible through messenger or the website.
On the other hand, Paymaya is more responsive to customer concerns, and you can reach them through messenger, email or landline.
Winner: Paymaya
Given these factors, GCash may be slightly ahead than Paymaya. However, everyone has their preferences when choosing a mobile wallet service provider. You should select the mobile wallet that suits your needs and provides you with the most convenience.
For more information on Paymaya, visit paymaya.com.
